Thursday, February 7, 2013

Korean Dinner of 김치 찌개 (using my own homemade 김치 )

The weather in Singapore is like me, bloody emo. Changes easily so much until it was extremely sunny on Saturday, and raining everyday since Sunday.
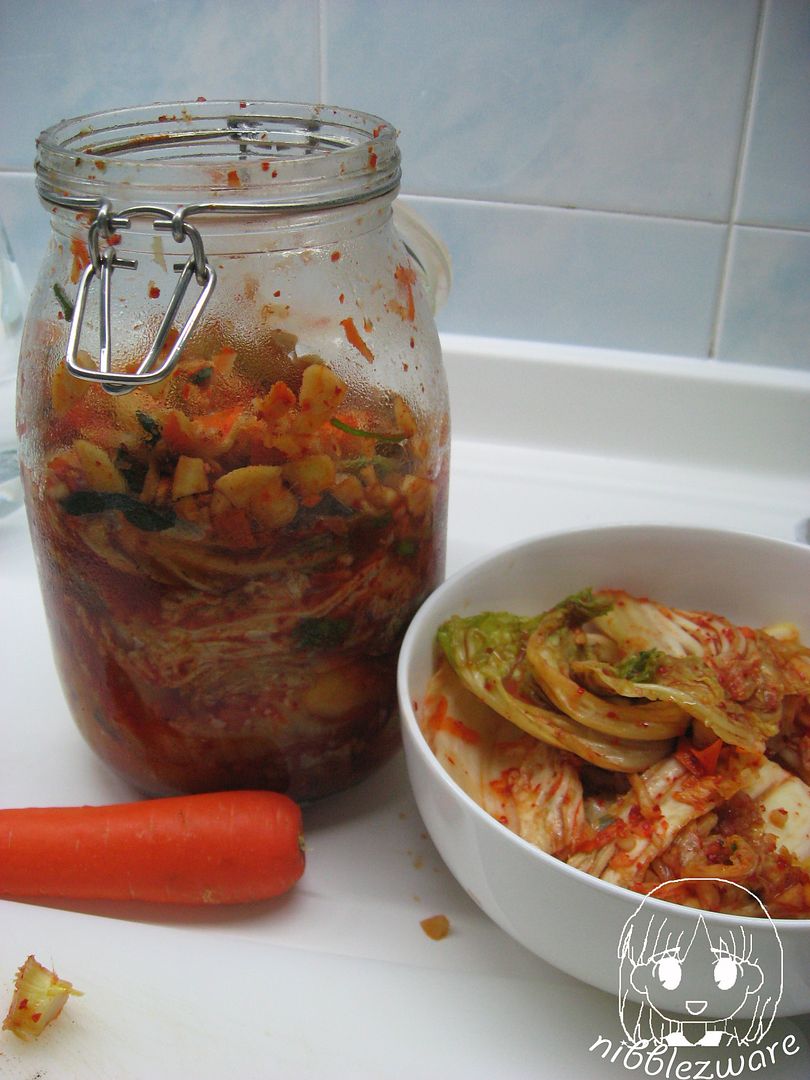
My Homemade 김치
Like I said before, I made my own 김치 two Sundays ago, and by last Saturday it was pretty ripe. 김치 is great any day between 7-14 days of "ripening". So it was most excellent for using in a kimchi jijae, 김치 찌개. I like to do mine as a hotpot dish.
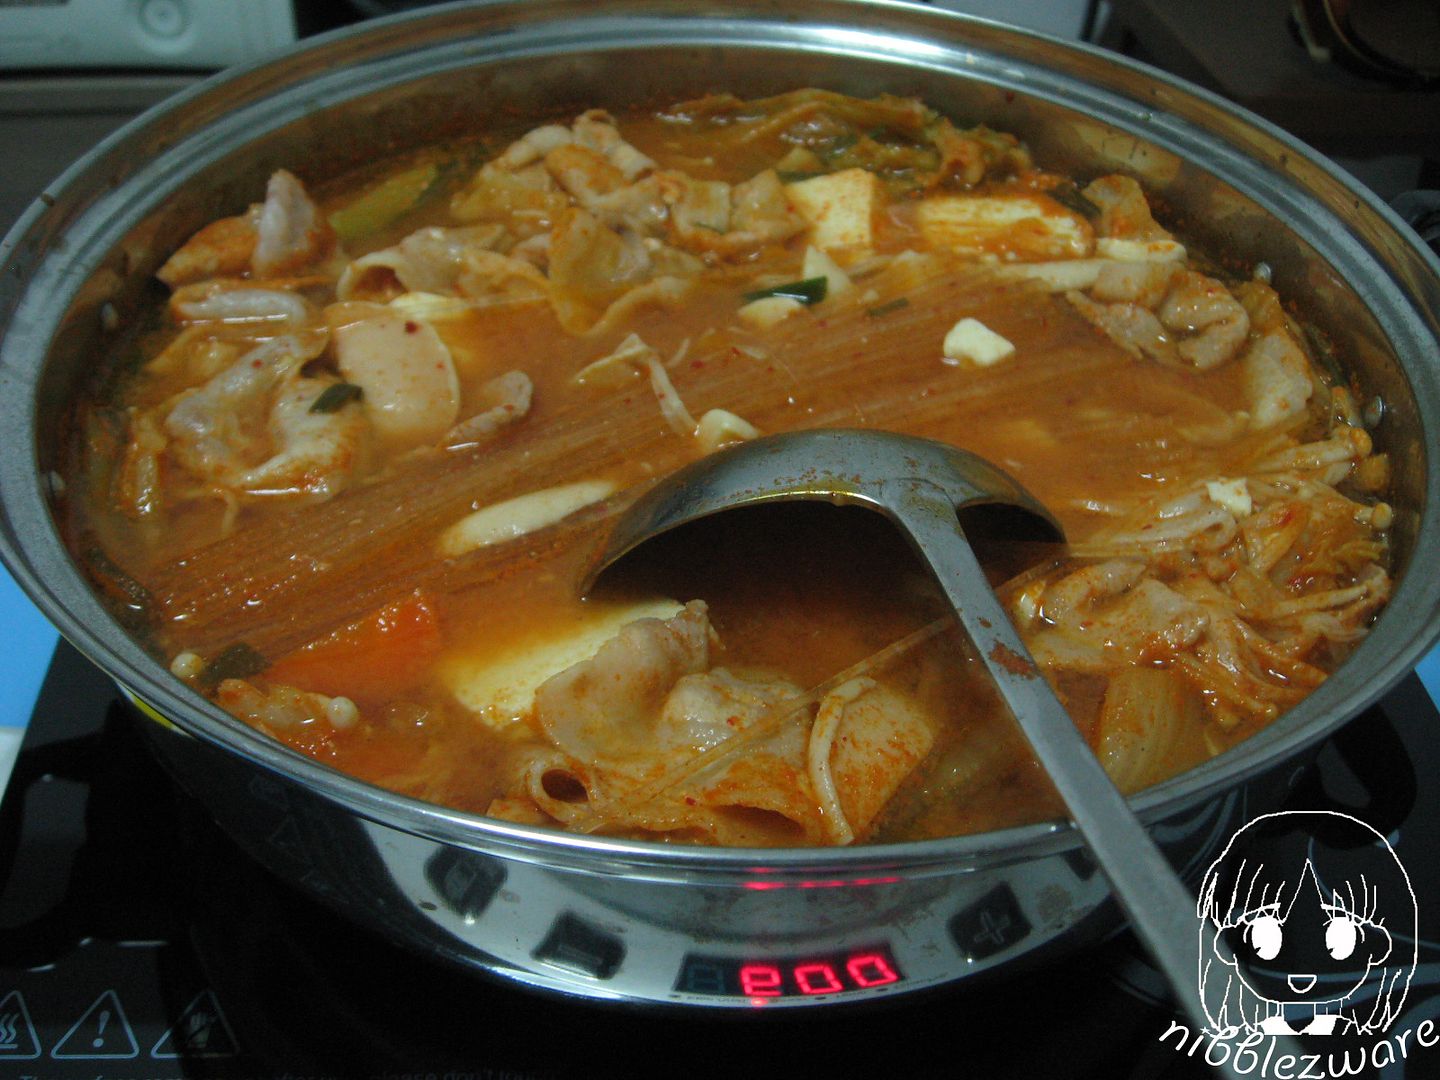
김치 찌개
I love Korean cooking. It is healthy (soups and stews don't require oil, and uses loads of fresh veggies), spicy, and dead easy to make. Throw, chuck stuff in, and mix in miso and Gochujang, and you are done! So what I did was rapidly cut silken tofu, golden mushrooms, homemade 김치 and julienned carrots, japanese cucumber. Everything was put into the boiling water according to how fast they could cook, e.g. carrots, and cucumbers first. And then finally I put in rolls of pork belly and konnyaku noodles. It's quite funny, everytime I want to buy konnyaku noodles (Japanese), I can't find them, and end up buying sweet potato noodles (Korean). And the one time I want to use sweet potato noodles, there isn't any in the house and I end up using konnyaku noodles. Sigh.
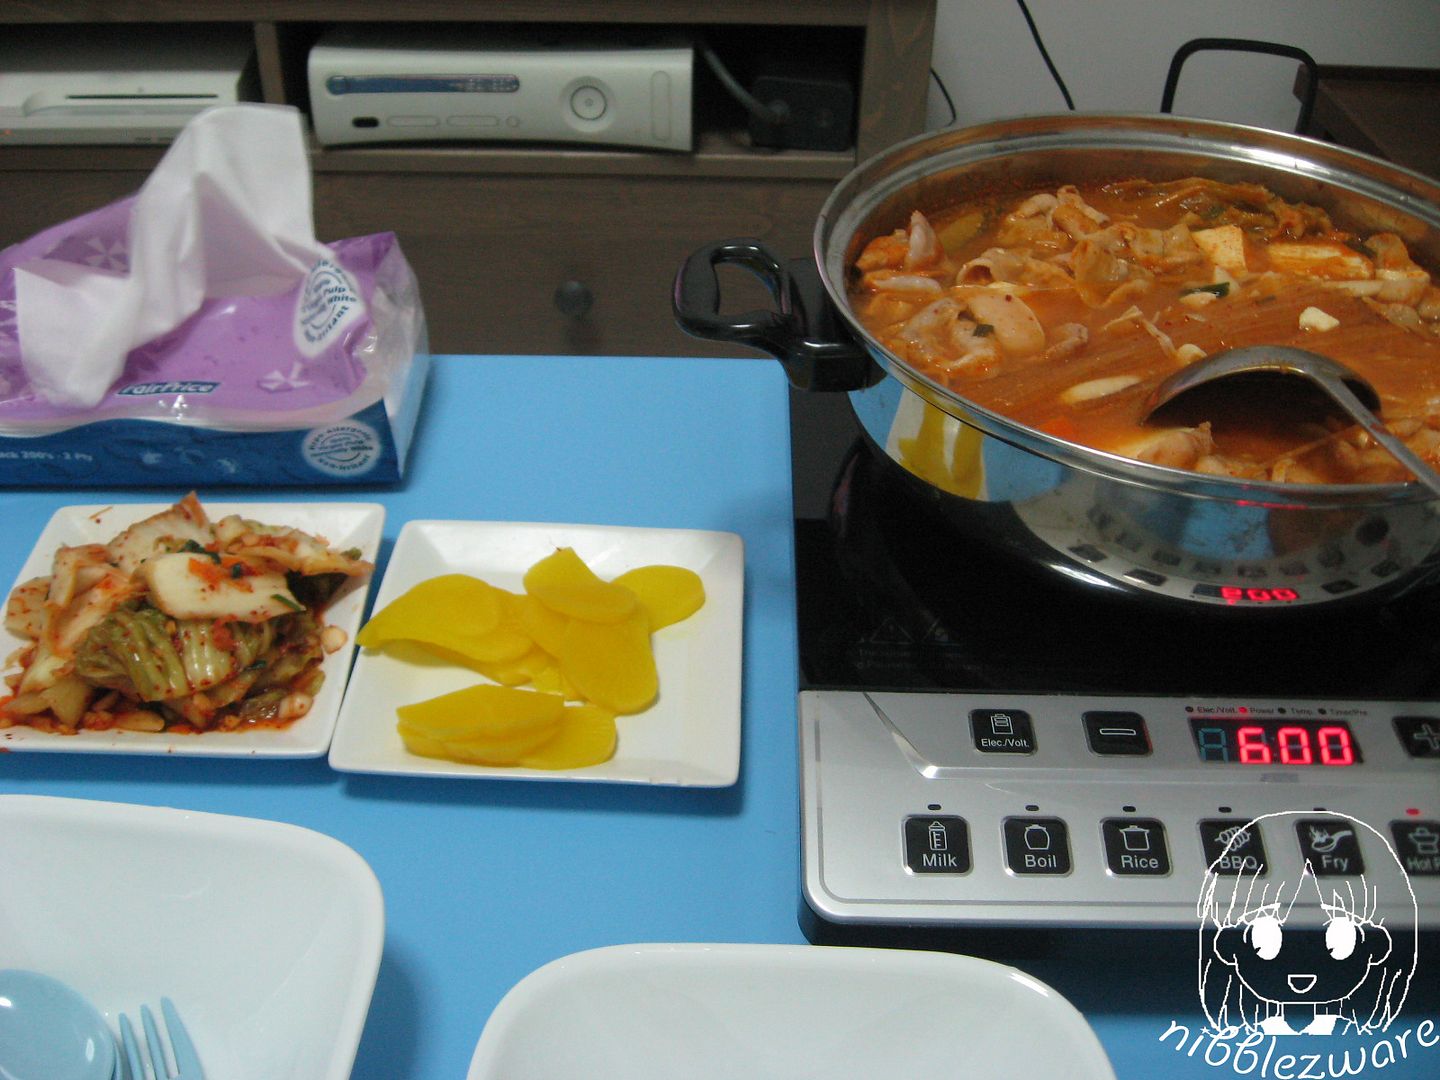
Served with more kimchi and takuan (pickled daikon)
I wonder if it is possible to make my own takuan. Anyway, I was so preoccupied with making a Korean feast, I overcooked and made spicy rice cakes. As I stared at the two pots bubbling away on the stove, I realized that I made too much. B1 was consulted and he suggested that we have one small serving of rice cakes to top up any empty spaces after the 김치 찌개. 

So I brought the hot pot pipping hotpot to the electric stove to ensure the continued cooking and served everything with takuan and more of my homemade 김치. Seems like I am too adventurous and did not wash off the salt too much, so the 김치 is quite salty this time.

Tuesday, February 5, 2013

Simple Chinese Lunch

Clockwise from left: potato stewed in tomato sauce, leeks fried with bacon and onion omelette

Tuesday, January 29, 2013

The Chinese Taco: 三层肉包

I had some frozen pork belly in the freezer and I missed eating lotus leaf buns. So obviously I would make braised pork belly sandwiches.
Assembled by B1's loving hands
Lotus leaf buns are not made from lotus leaves but they have the shape of little lotus leaves folded into two. Anyway I call them the Chinese tacos, very suitable for sandwiching food in between the two soft dough pads.

So I tossed the pork belly in with my leftover roast chicken to boil for stock. When the pork fat had turned soft and gelatinous, I took the pork belly slices out and braised them in some of the same stock, with the added condiments of sesame seed oil, garlic, soya sauce and mirin (I was too lazy to use Chinese wine and sugar). 
What's fast food without bier?
In the meantime I steamed the buns, and juliened some preserved daikon, Takuan (沢庵), which will provide a unique texture and contrasting flavor to the slightly sweet bun and the salty (and sweet) meat.  I retrieved the meat from the pot after half an hour and added a cornflour mixture to thicken the gravy. I then poured the gravy on the meat. I also used the remaining chicken + pork belly stock to make a quick corn egg drop soup with some creamed corn and leftover chicken bits. And to complete this "fast food" ensemble, we had fries.

We had fun assembling our little buns, first a bun, then lettuce leaf, then the Takuan, and the pork belly. Munch munch munch. B1 complained that we had tacos last weekend and now I was feeding him Chinese tacos. Some people just need to take S$4.50 and buy himself a noodle soup. (0.o")
Egg drop corn soup

Wednesday, January 23, 2013

My version of lazy ass Banana Bread

Note: Scheduled post. This was baked on Monday night.
It's quite mind-boggling how the two of us can be so lazy. I had been thinking of making banana bread or chiffon cake for the last few days, and over the last few days, have been slowly acquiring the necessary ingredients. Like cockroach-less bananas, which is a whole other story in itself.

I even bothered to pop home earlier to settle a solid block of frozen butter on the countertop to thaw before running to my other home for dinner. So imagine how annoyed when I was ready to bake banana bread (it won because the bananas were ripening really fast and B1 refused to eat bananas ever since the previous episode) and there was only 120g of sugar left...

I had earmarked this recipe by Elise from Simply Recipes, and had converted the recipe to metric system.

Banana Bread Recipe

Ingredients

  • 3 or 4 ripe bananas, smashed
  • 40g melted butter
  • 200g sugar
  • 1 egg, beaten
  • 1 teaspoon vanilla
  • 1 teaspoon baking soda
  • Pinch of salt
  • 225g of all-purpose flour

Method

No need for a mixer for this recipe. Preheat the oven to 350°F (175°C). With a wooden spoon, mix butter into the mashed bananas in a large mixing bowl. Mix in the sugar, egg, and vanilla. Sprinkle the baking soda and salt over the mixture and mix in. Add the flour last, mix. Pour mixture into a buttered 4x8 inch loaf pan. Bake for 1 hour. Cool on a rack. Remove from pan and slice to serve.
Yield: Makes one loaf.

"B1, help me get sugar from downstairs ok?!" I yelled from the kitchen.

"No!!!" equally loud from the bedroom. Argh. Threats of scheidung left him unmoved. Damn, used this trick too much. To think the supermarket was only downstairs. Wtf. That's how lazy the two of us were.

I looked into the fridge. No Honey. Hmm but there are those mini pots of yoghurt that I bought on discount last Tuesday. Only mixed berry flavor left...So here's the adjusted recipe:

Nibblezware-modified Banana Bread Recipe

Ingredients

  • 5 ripe bananas
  • 40g melted butter
  • 120g sugar 
  • 60g mixed berry yoghurt (or whatever yoghurt you like)
  • 1 egg
  • 1 teaspoon banana essence (no sugar in the house, but banana essence? no problem)
  • 1 teaspoon baking soda
  • Pinch of salt
  • 225g of self-raising flour

Method

I preheated the microwave oven's convection function to 170°C. Mistake, that emo bitch likes it 20°C lower. Note to self to use 150°C next time.

<s>Mash bananas with butter. Leave some little bits of chunk.</s>Mistake #2 Forgot to measure out flour and sugar first.

Measure flour and set it aside in the colander (yeah you heard me, I use a colander to sift my flour. Not enough space in the galley so some utensils have to double up duty).

Measure sugar and pour into the bowl. Measure butter and dump into the bowl too. Use the butter knife to butter the sides of the pyrex loaf pan, while moaning my fate. Then peel 5 bananas, slapping away at the fruit flies which have gathered. They were really dumb and easily killed.

Mash bananas into the sugar with butter. Leave some little bits of chunk.

Break an egg in and mix thoroughly. Dump in the banana essence, and baking soda and salt. Sift the flour into the mixture and give the bowl a vicious drub.

Pour the mixture into the pan and set to bake for 1h 10min at 170°C. At first I was relieved that the mixture was rising in the oven after sitting pretty for the first 10 minutes. Then I noticed after the 30 minutes that the top was turning brown yet the inside was wet. So I switched off the convection, and reduced temperature to 150°C for the next 30min. And cover the top with a corningware lid (no choice, the baking dish doesn't come with a cover).

Turned out pretty nice :).

Monday, January 21, 2013

Slow poached eggs

[from Momofuku by David Chang and Peter Meehan]

1. Fill your biggest, deepest pot with water and put it on the hob over the lowest possible heat.

2. Use something to keep the eggs from sitting on the bottom of the pot where the temperature will be the highest. E.g. a cake rack or steamer rack.

3. Use an instant-read thermometer to monitor the tmperature in the pot. If it is too hot, add cold water or an ice cube, once the water is between 60 to 63 degree celsius, add the eggs to the pot.l let them bathe for 40 to 45 minutes, checking the temperature regularly with the thermometer, or sticking your finger in the water  (it should be the temperature of a very hot bath water) and moderating it as needed.

4. You can use the eggs immediately or store them in the fridge  up to 24 hrs. if you plan to store them, chill them until cold in an ice water bath. If you refrigerate the egss, warm them under pipping hot tap water for 1 minute before using. 

5. To serve the eggs, crack them one at a time into a small saucer, the thin white will not and should not be firm or solid; top the dish to pour off and discard the loosest part of the white and slide the egg onto the dish it's destined for.

Thursday, December 27, 2012

Unholy Xmas Roast Chicken

I invited Vater und Mutter over for Xmas dinner, because no one was at home when I called on Xmas eve to say "come over for Xmas eve dinner". So I ended up slaving over a hot stove one day before going back to work the next day. Bad idea #1.

Tried to take a shortcut. Asked Mutter to help me check how much the delicatessen was selling roast chicken so that I only needed to cook fries, make a salad, brussel sprouts and soup. Mutter reported that the chickens were going at 2X their usual prices. So she said "buy your own chicken and cook it." Bad idea #2.

Standing at the supermarket eyeing the chickens balefully. Should I get the usual spring chickens (which I am used to making) or a giant bird? Chose the big bird. Bad idea #3.

Bloody chicken was a pain to roast. It took more than 1 hour to roast, not including the time to marinate and insert garlic and ginger slices under the skin.  I stuffed it with ginger, garlic, onion and apples, and slathered the skin with butter, sesame seed oil (my god, I just realized I dumped two types of oil on that bird), soya sauce and mirin. I finally blanketed the birdie with bacon slices.

In the end, it was still 90% cooked so had to zap it in the microwave again.  But it was moist and flavorful. Thanks to my basting the bird and and flipping it over half way through.
Other than sushi, everything else was made by me :D

Tuesday, December 4, 2012

Hokkaido White Chocolate Cookies

Hokkaido White Chocolate Cookies [img source: The Traveling Hungry Boy]
I have always been fascinated by this white chocolate cookies ever since Mutter brought a box home from her Japan trip with Vater. The cookies came with two loving pussy cats, and was light in taste with a melt-in-your-mouth quality.

Today I was reading "Popular Cakes in Hong Kong" when I cam across this recipe for said cookies. Don't look as pretty but I hope anyone who reads this, please give it a try and tell me how is the recipe? Maybe I could do it as part of Xmas presents (provided I am not exhausted. I am very easily tired nowadays).

Ingredients
Cookie Dough
60g butter, 40g icing sugar, 4g emulsifier
30g egg whites, 20g sugar, 60g low gluten flour (低筋)
  
Chocolate filling
100g white chocolate, 40g whipping cream

Method
Chocolate filling
Bring whipping cream to boil. Add white chocolate to melt. Rest at room temperature for one hour.

Cookie Dough
Soften butter at room termperature. Cream emulsifier and icing sugar until pale yellow and slightly fluffy.
Whisk egg whites and icing sugar when peaked.
Sieve flour and stir in soft butter. GHold in egg white by twice to combine.

Spread egg white batter on slit mat. Place in preheated oven. Bake at 160 degree celsisu for 10-15min.

Assembly
Pipe chocolate filling on biscuit. Top with another biscuit. Press slightly